

Overview
An SPF record is a DNS entry that lists which mail servers are allowed to send email for your domain, helping inbox providers spot spoofed messages. This guide explains what SPF is, why it matters for deliverability, how the syntax works, and exactly how to check your own record using command line tools and online checkers.
You will also learn the most common SPF mistakes, like exceeding ten lookups or publishing two SPF records, and how to fix them so your mail keeps landing in the inbox.
What is an SPF record and why does it matter?
SPF, short for Sender Policy Framework, is a TXT record in your domain's DNS that names the servers authorized to send mail on your behalf. When a receiving server gets a message claiming to be from your domain, it looks up your SPF record and checks whether the sending server is on the approved list.
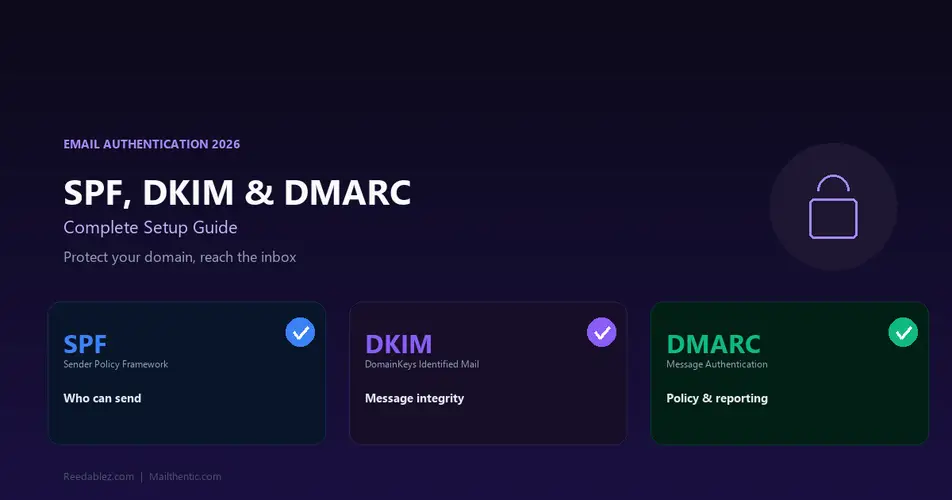
It matters because SPF is one of the three core email authentication standards, alongside DKIM and DMARC, that prove you are a legitimate sender. Without a valid SPF record, your messages are more likely to be flagged as suspicious, filtered into spam, or spoofed by scammers pretending to be you. A correct SPF record improves inbox placement and protects your domain's reputation.
How does an SPF record work?
An SPF record works by letting the receiving mail server compare the sending server's IP address against the list you published in DNS. The check happens automatically during delivery.
The flow looks like this:
- Your domain sends an email through some server, for example your marketing platform or your own mail host.
- The receiving server reads the sender domain and looks up that domain's SPF TXT record in DNS.
- It checks whether the connecting server's IP is authorized by the record, either listed directly or included through another provider.
- Based on the result and your policy, the message passes, is treated as soft fail, or is rejected.
Understanding SPF record syntax
SPF syntax is a single line of space separated terms that always starts with a version tag and ends with an all mechanism. Once you can read the parts, most records make immediate sense.
A typical record looks like this:
v=spf1 include:_spf.google.com include:sendgrid.net ip4:198.51.100.25 ~all
Here is what each piece means:
- v=spf1 declares this is an SPF version 1 record. Every SPF record must begin with it.
- include: authorizes another domain's servers, which is how you allow providers like Google Workspace or SendGrid to send for you. Each include triggers a DNS lookup.
- ip4: and ip6: authorize specific IP addresses or ranges directly.
- a and mx authorize the servers listed in your domain's A or MX records.
- all is the catch at the end that decides what happens to servers not matched above.
What is the difference between ~all and -all?
The difference is how strictly unauthorized senders are treated. Both apply to any server that did not match an earlier mechanism, but they signal different levels of confidence.
- -all (hard fail) tells receivers to reject or strongly distrust any mail not sent from a listed server. This is the strictest and most secure setting once you are confident your record is complete.
- ~all (soft fail) tells receivers the mail is probably unauthorized but should be accepted and marked rather than rejected. It is a safer starting point while you confirm every legitimate sender is covered.
- +all would authorize everyone and defeats the purpose, so never use it.
A common approach is to launch with ~all, verify nothing legitimate is being missed, then tighten to -all.
How do I check my SPF record?
You check your SPF record by querying your domain's TXT records with a command line tool or an online checker. Both return the exact record so you can confirm it exists and read its contents.
Check with dig on Mac or Linux
Open a terminal and run a TXT query for your domain. For example:
dig yourdomain.com TXT +short
Look through the output for the line beginning with v=spf1. That line is your SPF record. If you see no such line, you do not have an SPF record published yet.
Check with nslookup on Windows
On Windows, open Command Prompt or PowerShell and run:
nslookup -type=txt yourdomain.com
The response lists your domain's TXT records. Find the one starting with v=spf1 to read your SPF policy.
Check with an online tool
If you would rather not use the command line, paste your domain into a web based SPF or DNS checker. Many tools go further and count your DNS lookups, warn about multiple records, and confirm your syntax. A broader domain health check reviews SPF alongside DKIM and DMARC so you can see your whole authentication setup in one place.
Common SPF mistakes and how to fix them
Most SPF problems come down to a handful of recurring mistakes. Each has a clear fix.
Exceeding ten DNS lookups
SPF allows a maximum of ten DNS lookups when evaluating your record, and going over that limit causes SPF to fail with a permerror, which can hurt delivery. Every include, a, mx, and similar mechanism counts toward the limit, and each include can pull in more lookups of its own. To fix it, remove providers you no longer use, replace some includes with direct ip4 or ip6 entries where practical, and consider SPF flattening tools that compress the record. Audit the count whenever you add a new sending service.
Publishing more than one SPF record
A domain must have exactly one SPF record, and having two or more causes a permerror that can invalidate authentication entirely. This often happens when a new provider tells you to add their own v=spf1 line and you paste it as a separate record. The fix is to merge everything into a single record by combining all the include and ip mechanisms into one v=spf1 line ending with a single all.
Forgetting a legitimate sender
If you send through a platform that is not authorized in your record, its mail can fail SPF and land in spam. Every time you adopt a new email service, add its include or IP to your SPF record. Keep a running list of every system that sends as your domain, including your CRM, help desk, and marketing platform.
Using the wrong all mechanism too early
Setting -all before you are sure every sender is covered can cause legitimate mail to be rejected. Start with ~all, monitor your reports for a couple of weeks, confirm nothing valid is failing, and only then switch to -all for stronger protection.
Frequently asked questions
Is SPF enough on its own?
No. SPF is important but it is only one layer. For full protection you should also set up DKIM, which cryptographically signs your messages, and DMARC, which tells receivers what to do when SPF or DKIM fails and gives you reporting. The three work together, and DMARC in particular relies on SPF and DKIM to function.
How long does an SPF change take to work?
An SPF change takes effect once DNS propagates, which is usually a few minutes to a few hours depending on your record's TTL. To speed things up, you can lower the TTL before making changes. After publishing, recheck the record with dig, nslookup, or an online tool to confirm the update is live.
Do I need an SPF record if I use Google Workspace or Microsoft 365?
Yes. Even when a major provider handles your mail, you still need to publish an SPF record that includes their sending servers, for example include:_spf.google.com for Google Workspace. Without it, receivers cannot confirm those servers are authorized to send as your domain.
What happens if I have no SPF record at all?
Without an SPF record, receiving servers have no way to verify which servers may send for you, so your mail is more likely to be treated as suspicious and filtered to spam. It also leaves your domain easier to spoof, since scammers can impersonate you without failing an authorization check.
Final thoughts
An SPF record is a small piece of DNS with an outsized effect on whether your email reaches the inbox. Understand the syntax, publish a single clean record that covers every legitimate sender, and stay under the ten lookup limit. Check it regularly with dig, nslookup, or an online checker, and pair it with DKIM and DMARC for complete authentication. A few minutes of maintenance keeps your mail trusted and your domain protected from spoofing.


Comments (0)
No comments yet. Be the first to share your thoughts!
Leave a Comment
Your email address will not be published. Required fields are marked *