
As winter bids farewell, it's time to breathe life back into your lawn and garden by dewinterizing your sprinkler system. Reviving your irrigation system is crucial to ensure optimal performance during the growing season.
To dewinterize your sprinkler system, inspect for damage, reconnect the water supply gradually, and check for leaks. Clean and adjust sprinkler heads, activate each zone, and test valve operation. Inspect and update controller settings, then run a comprehensive system check. Consider hiring a professional for thorough de-winterization if needed.
In this comprehensive guide, we'll walk you through the step-by-step process of dewinterizing your sprinkler system, from inspecting components to conducting system checks to ensure your greens thrive all season.
Understanding Winterization
Before diving into de-winterization, it's essential to revisit the winterization steps taken to protect your sprinkler system during the cold months. Winterization typically involves draining the water from the system to prevent freezing and potential damage to pipes and components. Understanding the precautions taken will guide your de-winterization process.
Preparation for Dewinterization
Gather Necessary Tools
Before starting the de-winterization process, gather essential tools such as a screwdriver, pliers, a multimeter, and any specific tools recommended by your sprinkler system's manufacturer.
Review System Documentation
Consult your sprinkler system's documentation or user manual. Familiarize yourself with the system layout, key components, and manufacturer-specific de-winterization recommendations.
Step-by-Step De-Winterization Process
Inspect the System
Begin by visually inspecting the entire sprinkler system. Look for signs of physical damage, such as cracked pipes or damaged sprinkler heads that may have occurred during winter. Replace or repair damaged components before proceeding.
Reconnect Water Supply
If you disconnected the water supply during winterization, carefully reconnect it. Ensure all manual drain valves and backflow preventers are closed.
Gradually Increase Water Pressure
Slowly open the main water supply valve to increase water pressure gradually. Sudden increases can cause water hammer, potentially damaging the system. Monitor for any unusual sounds or leaks.
Check for Leaks
Inspect the entire system for leaks. Check each sprinkler head, valve, and pipe connection. Repair any leaks promptly to avoid water wastage and potential damage.
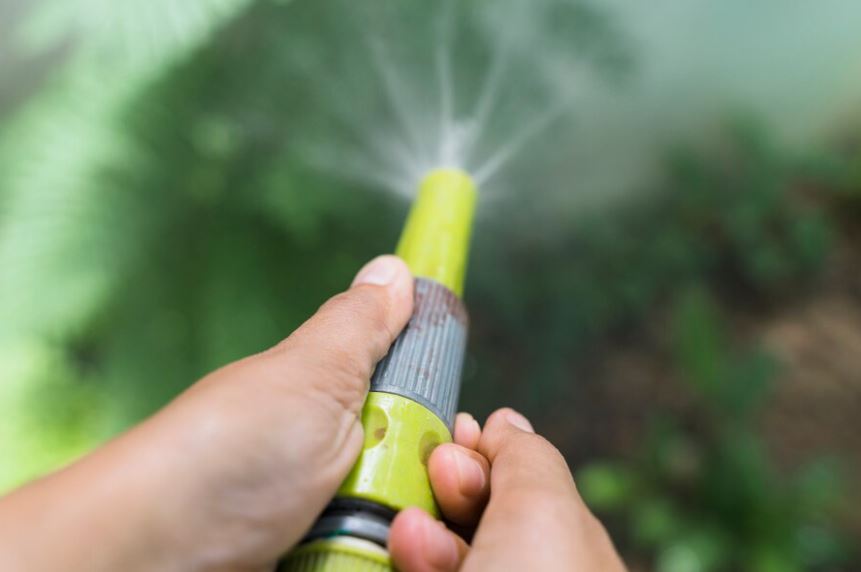
Inspect and Clean Sprinkler Heads
Remove and inspect each sprinkler head. Clean or replace clogged nozzles and ensure the heads are free from debris. Adjust the spray pattern if necessary to cover the desired area efficiently.
Activate Each Zone
Systematically activate each irrigation zone to check for proper functionality. Observe the pattern and range of water distribution from each sprinkler head. Verify that all zones are functioning correctly.
Test Valve Operation
Manually test each zone valve to confirm proper opening and closing. This ensures that water is distributed to the designated areas and prevents overwatering or underwatering.
Inspect Controller Settings
Review and adjust the settings on your sprinkler system controller: update watering schedules, duration, and frequency based on the specific needs of your lawn and garden. Consider seasonal adjustments to accommodate changing weather conditions.
Perform System Checks
Conduct a comprehensive system check by running the entire sprinkler system. Monitor for any irregularities, including uneven water distribution, low pressure, or malfunctioning components. Make necessary adjustments or repairs as you go.
Check Backflow Preventer
Inspect and test the backflow preventer to ensure it is functioning correctly. This is a critical component for preventing contamination of the water supply.
Inspect Rain Sensors
If your sprinkler system is equipped with rain sensors, check their functionality. Ensure they are positioned correctly and test their responsiveness by simulating rainfall.
Additional Tips for De-Winterization Success
Professional Inspection
Consider hiring a professional irrigation service for a thorough inspection and de-winterization if you are unsure about certain system aspects requiring specialized attention.
Soil Moisture Testing
Perform soil moisture testing to determine the actual watering needs of your lawn and garden. This allows you to tailor your irrigation schedule for optimal plant health.
Efficient Watering Practices
To minimise water evaporation, adopt efficient watering practices, such as early or late in the evening. Adjust watering duration based on local weather conditions.
Regular Maintenance
Implement a routine maintenance schedule throughout the growing season. Periodically check for leaks, clean or replace clogged nozzles, and address any issues promptly to maintain system efficiency.
Conclusion
Dewinterizing your sprinkler system marks the beginning of a vibrant and flourishing landscape. This comprehensive guide ensures that each component is thoroughly inspected and your irrigation system is optimized for the growing season. Take the time to understand your system's specific requirements and tailor your de-winterization process accordingly. Your lawn and garden will thrive with proper care and attention, showcasing the beauty that a well-maintained sprinkler system can bring to your outdoor space.
Frequently Asked Questions
Why is Dewinterizing essential for my sprinkler system?
Dewinterizing ensures your sprinkler system is in optimal condition for the growing season, preventing potential damage and promoting efficient water distribution.
When should I start the dewinterization process?
Start Dewinterizing your sprinkler system in early spring, before the growing season begins. This allows ample time for inspections and adjustments.
Can I dewinterize my sprinkler system myself?
Yes, many homeowners can de-winterize their sprinkler systems following a comprehensive guide. However, if uncertain, consider hiring a professional for a thorough inspection.
What tools do I need for the dewinterization process?
Essential tools such as a screwdriver, pliers, and a multimeter, along with any specific tools recommended by your sprinkler system's manufacturer.
How do I inspect the sprinkler system for damage?
Inspect the entire system for signs of damage, such as cracked pipes or damaged sprinkler heads. Replace or repair any damaged components before proceeding.
Is it necessary to gradually increase water pressure during dewinterization?
Yes, gradually increasing water pressure prevents water hammer, which can potentially damage the system. Monitor for any unusual sounds or leaks during this process.
Can I use my sprinkler system immediately after dewinterization?
After de-winterization, it is conducting a comprehensive system check and addressing any issues before regular use is recommended. This ensures optimal performance throughout the season.
How do I adjust sprinkler heads for optimal performance?
Remove and inspect each sprinkler head. Clean or replace clogged nozzles, ensure heads are debris-free, and adjust the spray pattern to cover the desired area efficiently.
Can I dewinterize my sprinkler system without a user manual?
While a user manual is helpful, you can de-winterize your system using a comprehensive guide. Consult the manufacturer's website or customer support for specific details if the manual is unavailable.
How often should I conduct a system check during dewinterization?
Conduct a system check after each step of the de-winterization process and perform a comprehensive test to ensure all components function correctly.


Comments (0)
No comments yet. Be the first to share your thoughts!
Leave a Comment
Your email address will not be published. Required fields are marked *