
Your Graphics Processing Unit (GPU) is a vital computer component for rendering images and videos and handling graphics-intensive tasks. Regular maintenance is essential to ensure your GPU operates at its full potential. One crucial aspect of GPU care is cleaning, which can significantly impact its performance and longevity.
To clean your GPU, power off and unplug your PC, then use compressed air to remove dust from the exterior and fans. If necessary, disassemble the GPU carefully, use compressed air to clean the heatsink and fans, and reassemble it securely. Regular cleaning every few months helps maintain performance and prevent overheating.
This comprehensive guide will explore the importance of cleaning your GPU, the tools and methods for doing so safely, and how this maintenance routine can optimize your computer's performance.
Why Cleaning Your GPU is Important?
Before we delve into the "how" of GPU cleaning, let's understand the "why." Cleaning your GPU is essential for several reasons:
1. Temperature Management
Dust and debris can accumulate inside your GPU's cooling system, hindering airflow and heat dissipation. An overheating GPU can lead to reduced performance and potential long-term damage. Cleaning your GPU helps maintain proper temperature control.
2. Improved Performance
A clean GPU is an efficient GPU. By removing dust and ensuring optimal cooling, you can expect better performance in graphics-intensive applications, gaming, and content creation.
3. Extended Lifespan
Dust and dirt not only hinder performance but can also cause long-term damage if left unattended. Regular cleaning can extend the lifespan of your GPU and save you money in the long run.
4. Lower Noise Levels
When a GPU runs hot due to dust buildup, its fans need to work harder to cool it down, resulting in increased noise. Cleaning your GPU can reduce fan speed and lower overall system noise.
Tools and Preparations
Before you start cleaning your GPU, gather the necessary tools and make the appropriate preparations:
Tools you'll need
- Compressed Air: This is your primary cleaning tool. You can use canned air or a specialized electric air blower.
- Phillips Screwdriver: If you need to open your GPU's housing for a thorough cleaning.
- Anti-Static Wrist Strap: This helps discharge any static electricity to prevent damage to sensitive components.
- Lint-Free Cloth: For wiping down exterior surfaces.
- Isopropyl Alcohol (Optional): Useful for cleaning contacts or stubborn stains. Make sure it's high purity (90% or higher).
Preparations
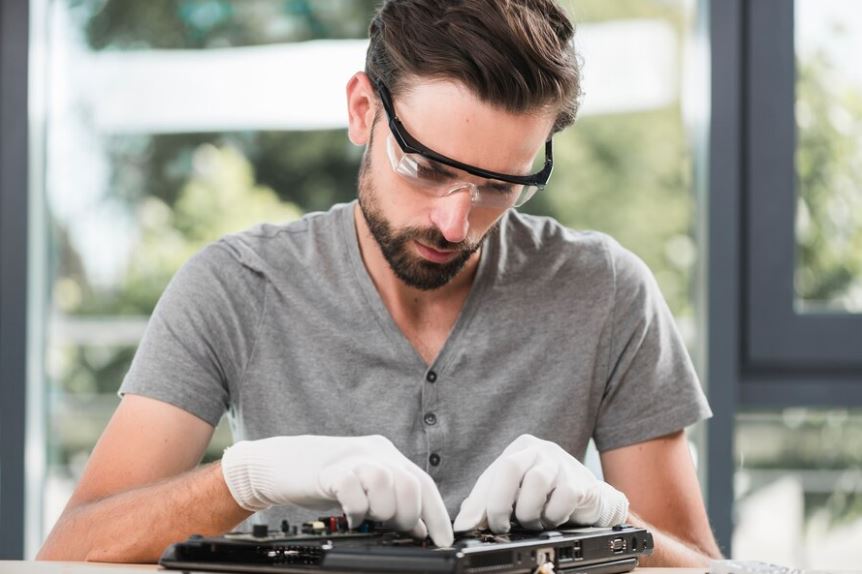
- Safety First: Before you begin, ensure that your computer is turned off and unplugged and that you work in a well-ventilated area. Take anti-static precautions by wearing an anti-static wrist strap.
- Prepare a Workspace: Lay down a clean, static-free surface to work on. You may also want to place your GPU on an anti-static mat.
- Discharge Static Electricity: Touch a grounded metal object to discharge any static electricity from your body before handling the GPU.
Cleaning the Exterior
Start by cleaning the exterior of your GPU, including the fan and heatsink. This can often improve cooling without opening the GPU.
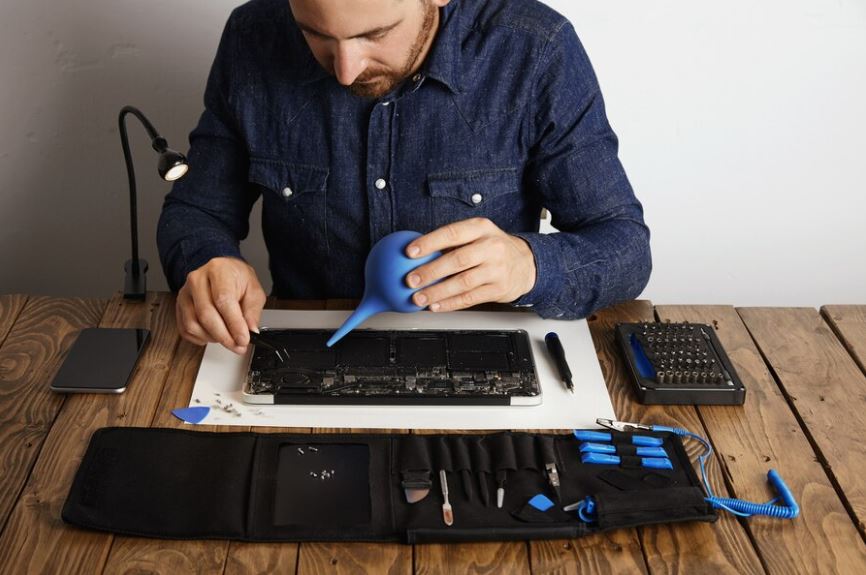
1. Remove Dust with Compressed Air
Hold your GPU over your prepared workspace and blow away the dust with compressed air. Blow air into the heatsink and fans from various angles to dislodge trapped particles.
2. Wipe Down Exterior
Use a lint-free or microfiber cloth to wipe down your GPU's exterior gently. This will help remove any remaining dust or fingerprints.
3. Reassemble
After cleaning the exterior, reassemble your GPU if you've removed it from your computer. Ensure it's securely reseated in its PCIe slot and all cables and connectors are correctly attached.
Cleaning the Interior
For a more thorough cleaning, you can open your GPU's housing. Please note that this may void your warranty, so proceed cautiously and consult your GPU's documentation.
1. Disassemble the GPU
Unscrew the screws holding the GPU housing together. You may need to check the specific disassembly instructions for your GPU model, as they can vary. Keep track of the screws, and remember where each one belongs.
2. Clean the Heatsink and Fans
Once inside, use compressed air to blow out dust and debris from the heatsink and fans. Hold the fans in place while cleaning to prevent them from spinning, which can generate static electricity.
3. Clean the PCB
If you're confident in your skills, use a lint-free cloth and isopropyl alcohol to clean the PCB (Printed Circuit Board). This is particularly useful if you notice any stubborn stains or residue.
4. Reassemble
Carefully put your GPU back together, ensuring all screws are securely fastened and no cables or connectors are disconnected.
It would be best to read How to Free up GPU Memory? To know how you can make your GPU more functional during daily tasks.
Testing and Monitoring
After cleaning your GPU, it's essential to perform tests and monitor its performance to ensure everything is working as expected:
- Testing: Power on your computer and run graphics-intensive tasks, such as gaming or rendering. Check for temperature improvements and overall system performance.
- Monitoring: Use GPU monitoring software to monitor temperature and fan speeds. Software like MSI Afterburner or GPU-Z can provide real-time data.
Maintenance Tips
To keep your GPU clean and performing optimally, consider the following maintenance tips:
- Regular Cleaning: Make GPU cleaning a part of your routine computer maintenance. Cleaning every 3-6 months is a good practice, depending on your environment.
- Case Filters: Install dust filters in your computer case to reduce dust intake.
- Ventilation: Ensure your computer case has adequate ventilation and airflow to minimize dust buildup.
- Room Environment: To reduce dust intake, keep your computer in a clean, dust-free room.
- Elevate the Case: Elevating your computer case slightly can reduce dust intake from the floor.
What is the best way to monitor GPU temperature and performance after cleaning?
The best way to monitor GPU temperature and performance after cleaning is to use specialized software and follow a systematic approach. Monitoring is crucial to ensure that the cleaning has had the desired effect and that your GPU is running optimally. Here's a comprehensive guide on how to monitor your GPU temperature and performance effectively:
1. Select the Right Monitoring Software
Choose reliable GPU monitoring software. Several popular options include MSI Afterburner, GPU-Z, HWiNFO, and CAM by NZXT. Each tool offers real-time monitoring of GPU temperature, usage, fan speed, and other relevant metrics.
2. Install the Software
Download and install the monitoring software of your choice. Follow the installation instructions, and ensure it's compatible with your GPU and operating system.
3. Configure the Software
Once the software is installed, launch it and configure the monitoring settings. You can usually customize what metrics you want to monitor and how they are displayed. Pay attention to the following key metrics:
- Temperature: Monitor the GPU temperature to ensure it stays within safe operating limits. A typical range is around 60-80°C for most GPUs, but it varies depending on the model.
- Fan Speed: Monitor the fan speed to ensure it responds appropriately to temperature changes. A significant increase in fan speed can indicate heating issues.
- Usage Percentage: Check the GPU usage percentage to see how much of your GPU's processing power is utilized during tasks or gaming.
- Clock Speeds: Monitor GPU clock speeds to ensure they are consistent with your GPU's specifications. Overclocked GPUs may have higher clock speeds.
4. Run Stress Tests
After cleaning your GPU, it's a good practice to run stress tests to push your GPU to its limits. Stress tests like FurMark or 3DMark can help identify potential overheating issues or performance degradation. Monitor your GPU's performance and temperature while the stress test runs to ensure it remains stable.
5. Benchmarking
Run benchmarking tools such as 3DMark or Unigine Heaven to assess your GPU's performance and compare it to standard benchmarks for your GPU model. This can help you determine if cleaning has improved or maintained performance.
6. Gaming Sessions
Play graphics-intensive games to observe how your GPU behaves after cleaning. Monitor the temperature, fan speed, and gaming performance to ensure no overheating issues or performance drops.
7. Review and Analyze Data
As you monitor your GPU, keep an eye on the data being displayed. Pay attention to temperature spikes, abnormal fan speed fluctuations, and performance drops. Consistently high temperatures or sudden performance decreases may indicate a problem.
8. Take Preventive Measures
Consider preventive measures if you notice any issues or elevated temperatures during monitoring. This may include adjusting your computer's airflow, cleaning your computer case, or reapplying thermal paste to your GPU.
9. Regular Monitoring
GPU monitoring shouldn't be a one-time event. Make it a part of your regular computer maintenance routine. Periodically check your GPU's status, especially if you frequently engage in graphics-intensive tasks or gaming.
10. Consider Overclocking
If you're into overclocking, GPU monitoring is even more critical. Overclocking can lead to higher temperatures and stress on your GPU, so consistent tracking is vital to ensure the GPU remains stable and doesn't overheat.
11. Keep Software Updated
Ensure that your GPU monitoring software is up to date. Developers often release updates to improve compatibility and fix bugs. Keeping your monitoring software current is essential for accurate readings.
12. Consult Online Communities
If you encounter persistent issues or have questions about the data you're monitoring, consider seeking advice from online communities or forums dedicated to GPUs. Experienced users can provide valuable insights and recommendations.
By following these steps and regularly monitoring your GPU's temperature and performance, you can ensure that your graphics card remains in optimal condition. It's essential to maintaining your computer's overall health and providing a seamless gaming and computing experience.
Are there risks involved in cleaning the GPU, such as damaging components?
Yes, there are some risks associated with cleaning your GPU, particularly if you're disassembling the GPU to perform an internal cleaning. Here are the potential risks to be aware of:
1. Warranty Voiding
Opening and disassembling your GPU may void its warranty. Most GPU manufacturers have warranty policies not covering damage or issues due to user tampering. If your GPU is still under contract, checking the terms and conditions before proceeding is crucial.
2. Static Electricity
Static electricity can be a threat to sensitive electronic components on the GPU. To mitigate this risk, using an anti-static wrist strap while working is essential. This strap helps discharge any static electricity from your body, preventing it from damaging GPU components.
3. Physical Damage
During disassembly and cleaning, there's a possibility of physically damaging the GPU, such as bending or breaking components, connectors, or the GPU's circuit board. Careful handling and following proper disassembly procedures can help minimize this risk.
4. Contact Damage
While cleaning, there's a chance of directly contacting components like capacitors, resistors, or solder points. Accidentally bending or damaging these tiny components can lead to GPU malfunctions.
5. Misalignment
Reassembling the GPU incorrectly can result in misalignment issues, where screws or components don't fit properly. This can affect the GPU's structural integrity and performance.
6. Thermal Paste Application
If you remove the GPU's heatsink for cleaning, you must reapply the thermal paste when reassembling. Incorrect thermal paste application can lead to overheating and reduced cooling efficiency.
7. Fingerprint Residue
Touching the GPU's components or circuitry with your fingers can leave fingerprint residue. Over time, this residue can impact the GPU's electrical connections. Always handle the GPU with clean, dry hands or wear gloves.
To mitigate these risks, follow these precautions:
- Read your GPU's warranty terms and consider the warranty implications.
- Use an anti-static wrist strap to prevent static electricity discharge.
- Carefully follow the disassembly and cleaning instructions for your specific GPU model.
- Handle components gently, avoiding pressure or force.
- Be cautious about making direct contact with small parts or the circuit board.
- Reassemble the GPU accurately and ensure all details and connectors are correctly aligned.
- Use proper thermal paste application techniques if you've removed the heatsink.
- Keep your hands clean and dry to prevent fingerprint residue.
If you're unsure about disassembling your GPU for cleaning or if it's still under warranty, consider seeking professional help or consulting the GPU manufacturer for guidance on cleaning and maintenance.
Conclusion
Cleaning your GPU is a straightforward yet essential maintenance task that can significantly impact your computer's performance and longevity. With the right tools and precautions, you can ensure that your GPU operates at its best, keeping temperatures in check and providing a better computing experience. Regular maintenance, proper ventilation, and dust management can extend your GPU's life and save you from costly repairs or replacements. So, take the time to clean your GPU, and your computer will thank you with improved performance and reliability.
Frequently Asked Questions
Why is cleaning my GPU important for performance?
Cleaning your GPU is crucial for maintaining proper temperature management, ensuring better performance, extending lifespan, and reducing noise levels in your system.
How often should I clean my GPU?
It's recommended to clean your GPU every 3-6 months, depending on your environment. If your computer is in a dusty area, more frequent cleaning may be necessary.
What tools do I need to clean my GPU?
You will need compressed air, a Phillips screwdriver (for disassembly), an anti-static wrist strap, a lint-free cloth, and isopropyl alcohol (optional for PCB cleaning).
Can cleaning my GPU void the warranty?
Opening and disassembling your GPU can potentially void its warranty. Consult your GPU's documentation and warranty terms to understand the specific guidelines.
Is it necessary to clean the exterior and interior of the GPU?
Cleaning the exterior can improve cooling, but for a thorough cleaning, it's advisable to clean the interior, especially the heatsink and fans, for optimal performance.
Is cleaning the GPU the same as cleaning the CPU?
Cleaning the GPU and CPU involves similar principles but are separate components. Cleaning the CPU typically consists of cleaning the CPU cooler and fan, while cleaning the GPU focuses on the graphics card's interior and cooling system.


Comments (0)
No comments yet. Be the first to share your thoughts!
Leave a Comment
Your email address will not be published. Required fields are marked *