
If you have ever wondered why your perfectly crafted marketing emails land in the spam folder while scammers successfully impersonate your domain, the answer almost always comes down to three DNS records: SPF, DKIM, and DMARC.
These three protocols form the backbone of email authentication. Together, they tell receiving mail servers who is allowed to send email on behalf of your domain, prove that messages have not been tampered with in transit, and instruct servers on how to handle emails that fail these checks.
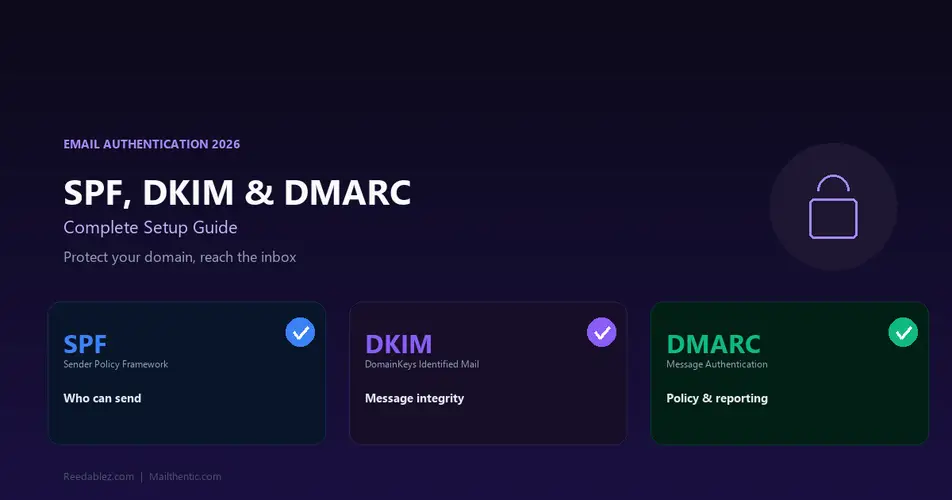
This guide explains each protocol in plain language, walks you through setup, and shows you how to verify your configuration is working correctly.
Why Email Authentication Matters
Before we dive into the technical details, let us understand why this matters for your business:
- Deliverability: Gmail, Microsoft, and Yahoo now require SPF, DKIM, and DMARC for bulk senders. Without them, your emails are more likely to land in spam.
- Brand protection: Without DMARC, anyone can send emails pretending to be from your domain. Phishing attacks using your brand damage customer trust.
- Compliance: Major ESPs and B2B customers increasingly require proper authentication as part of security audits and vendor assessments.
- Analytics: DMARC reports give you visibility into who is sending email using your domain — including unauthorized senders you might not know about.
As of February 2024, Google and Yahoo enforce strict authentication requirements for senders who send more than 5,000 emails per day. If you are not authenticated, your emails simply will not reach Gmail and Yahoo inboxes.
SPF: Sender Policy Framework
What SPF Does
SPF is a DNS record that lists every server authorized to send email on behalf of your domain. When a receiving server gets an email claiming to be from your domain, it checks the SPF record to see if the sending server is on the approved list.
Think of SPF as a guest list for a private event. Only the servers you explicitly name are allowed to send as your domain. Everyone else gets turned away.
How SPF Works
- You publish an SPF record in your domain’s DNS as a TXT record
- Someone sends an email claiming to be from your domain
- The receiving server looks up your SPF record
- The receiving server checks if the sending server’s IP is listed in your SPF record
- If yes, the email passes SPF. If no, it fails.
SPF Record Syntax
An SPF record is a single TXT record published at your domain’s root. Here is a typical example:
v=spf1 include:_spf.google.com include:sendgrid.net ip4:203.0.113.50 -allLet us break down each component:
- v=spf1 — Version identifier (always spf1)
- include:_spf.google.com — Authorizes Google Workspace servers to send as your domain
- include:sendgrid.net — Authorizes SendGrid servers (for marketing emails)
- ip4:203.0.113.50 — Authorizes a specific IP address (your own mail server)
- -all — Reject all emails from servers not listed above (strict policy)
SPF Policy Options
| Qualifier | Meaning | Recommended |
|---|---|---|
| -all | Hard fail — reject unauthorized senders | Yes, for production |
| ~all | Soft fail — accept but mark as suspicious | For testing only |
| ?all | Neutral — no policy | No |
| +all | Allow all — anyone can send as your domain | Never |
Common SPF Mistakes
- Too many DNS lookups: SPF allows a maximum of 10 DNS lookups. Each “include” counts as one. If you exceed this limit, your entire SPF record becomes invalid.
- Multiple SPF records: A domain must have exactly one SPF record. Publishing two SPF records makes both invalid.
- Using +all: This tells the world that anyone can send email as your domain. It is equivalent to having no SPF at all.
- Forgetting third-party services: If you use Mailchimp for marketing, SendGrid for transactional email, and Zendesk for support, all three need to be included in your SPF record.
DKIM: DomainKeys Identified Mail
What DKIM Does
DKIM adds a cryptographic signature to every outgoing email. The receiving server uses this signature to verify two things: the email was actually sent by an authorized server, and the message was not modified during transit.
If SPF is the guest list, DKIM is the wax seal on a letter — it proves the message is authentic and has not been tampered with.
How DKIM Works
- You generate a public/private key pair
- The private key is stored on your sending mail server
- The public key is published as a DNS TXT record
- When an email is sent, the server signs certain headers and the body with the private key
- The receiving server retrieves the public key from DNS and verifies the signature
- If the signature matches, the email passes DKIM. If it does not match (message was altered), it fails.
DKIM Record Format
A DKIM record is published as a TXT record at a specific subdomain: selector._domainkey.yourdomain.com
The selector is a unique identifier for the key (often set by your email provider). For example, Google Workspace uses the selector “google”:
google._domainkey.yourdomain.com TXT "v=DKIM1; k=rsa; p=MIGfMA0GCSqGSIb3DQEBAQUAA4..."Each email provider uses different selectors:
- Google Workspace: google
- Microsoft 365: selector1, selector2
- SendGrid: s1, s2
- Mailchimp: k1
Verifying DKIM Configuration
The tricky part about DKIM is that most email providers use different selector names, and you need to know the correct selector to look up the record. Some advanced email verification services like Mailthentic’s Domain Health Check automatically probe 60+ common selectors to detect DKIM configuration, saving you the trouble of guessing which selector your provider uses.
You can also use a free domain checker tool to verify your DKIM, SPF, and DMARC records are all properly configured.
DMARC: Domain-based Message Authentication
What DMARC Does
DMARC ties SPF and DKIM together and adds a critical missing piece: a policy. While SPF and DKIM tell receiving servers whether an email is authenticated, DMARC tells them what to do about it when authentication fails.
DMARC also introduces alignment — the requirement that the domain in the email’s “From” header matches the domain used in SPF and DKIM checks. This prevents sophisticated spoofing attacks where a scammer authenticates with their own domain but forges your domain in the visible “From” field.
DMARC Policies
| Policy | What Happens to Failing Emails | When to Use |
|---|---|---|
| p=none | Nothing — deliver normally but send reports | Initial setup, monitoring phase |
| p=quarantine | Move to spam/junk folder | After reviewing reports, gaining confidence |
| p=reject | Reject the email entirely | Full enforcement, maximum protection |
DMARC Record Format
A DMARC record is published as a TXT record at _dmarc.yourdomain.com:
_dmarc.yourdomain.com TXT "v=DMARC1; p=reject; rua=mailto:dmarc@yourdomain.com; pct=100"Key components:
- v=DMARC1 — Version identifier
- p=reject — Policy for failing emails (none, quarantine, or reject)
- rua=mailto:dmarc@yourdomain.com — Where to send aggregate reports (daily XML summaries of authentication results)
- pct=100 — Percentage of failing emails to apply the policy to (useful for gradual rollout)
Step-by-Step Setup Guide
Here is the recommended order for implementing all three protocols:
Step 1: Audit Your Current Configuration
Before making changes, check what you already have. Use a domain checker tool or MX lookup to see your current MX, SPF, DKIM, and DMARC records. Many domains already have partial configurations from their email provider but may be missing critical components.
Step 2: Set Up SPF
- List every service that sends email using your domain (email provider, marketing platform, transactional email service, helpdesk, CRM)
- Look up each service’s SPF include statement in their documentation
- Combine them into a single TXT record at your domain root
- End with
-allto enforce strict policy - Verify the total DNS lookup count does not exceed 10
Step 3: Set Up DKIM
- Each email service you use should have DKIM setup instructions
- Generate keys through your email provider’s admin panel
- Publish the CNAME or TXT record they provide in your DNS
- Repeat for each service that sends email on your behalf
- Verify by sending a test email and checking the email headers for “DKIM=pass”
Step 4: Set Up DMARC
- Start with p=none: This monitor-only policy lets you collect data without affecting delivery
- Publish the record:
_dmarc.yourdomain.com TXT "v=DMARC1; p=none; rua=mailto:dmarc@yourdomain.com" - Wait 2-4 weeks and review the aggregate reports
- Fix any legitimate services that are failing SPF or DKIM alignment
- Once all legitimate sources pass, move to
p=quarantine - After another monitoring period with no issues, move to
p=reject
Step 5: Verify Everything
After setup, verify your configuration is working:
- Send test emails and check the “Authentication-Results” header for SPF=pass, DKIM=pass, DMARC=pass
- Use Mailthentic’s Domain Health Check to audit all three records and identify any misconfigurations
- Monitor DMARC reports for any legitimate sending sources that are failing authentication
How Authentication Affects Email Verification
There is an important connection between email authentication and email verification that most guides overlook.
When an email verification service checks an address at your domain, one of the signals it evaluates is your domain’s authentication setup. Domains with properly configured SPF, DKIM, and DMARC records signal mature email infrastructure — which increases the confidence score assigned to addresses at that domain.
Conversely, domains with no authentication records are more likely to be associated with spam, phishing, or abandoned infrastructure — reducing the confidence in any address verification results.
This is why DNS-level email validation includes SPF, DKIM, and DMARC analysis as part of the verification pipeline. These records are not just about your outbound email — they also affect how verification services assess inbound addresses at other domains.
Common Problems and Solutions
Problem: SPF Record Exceeds 10 Lookup Limit
If you use many third-party services, you can easily exceed the 10-lookup limit. Solutions:
- Use an SPF flattening service that resolves includes to IP addresses
- Remove services you no longer use
- Use subdomains for different services (marketing.yourdomain.com for Mailchimp, etc.)
Problem: DKIM Signature Breaks in Forwarded Emails
Email forwarding can modify headers and break DKIM signatures. This is expected behavior — DMARC handles this through SPF alignment as a fallback. Make sure your DMARC policy considers both SPF and DKIM (the default behavior).
Problem: Third-Party Services Failing DMARC Alignment
Some services send email “on behalf of” your domain but use their own domain in the envelope sender. This causes SPF alignment to fail. Solutions:
- Configure the service to use your domain as the envelope sender (most enterprise ESPs support this)
- Ensure DKIM is properly configured for that service (DKIM alignment can save you when SPF alignment fails)
Monitoring and Maintenance
Email authentication is not set-and-forget. Maintain it by:
- Reviewing DMARC reports monthly to catch unauthorized senders or misconfigurations
- Updating SPF records whenever you add or remove a service that sends email
- Rotating DKIM keys annually as a security best practice
- Running periodic domain health checks to verify all records are still valid and properly configured
Conclusion
SPF, DKIM, and DMARC are no longer optional for businesses that rely on email. They are required by major providers, expected by recipients, and essential for protecting your brand from impersonation attacks.
The good news is that setting them up is a one-time effort that pays dividends for as long as you send email. Start with SPF, add DKIM for each sending service, then layer DMARC on top with a gradual enforcement rollout. Verify your configuration with a domain health checker, monitor your DMARC reports, and your emails will consistently reach the inbox instead of the spam folder.


Comments (0)
No comments yet. Be the first to share your thoughts!
Leave a Comment
Your email address will not be published. Required fields are marked *