Tourist Submarine Found Near Titanic's Wreckage I…
April 14, 2018

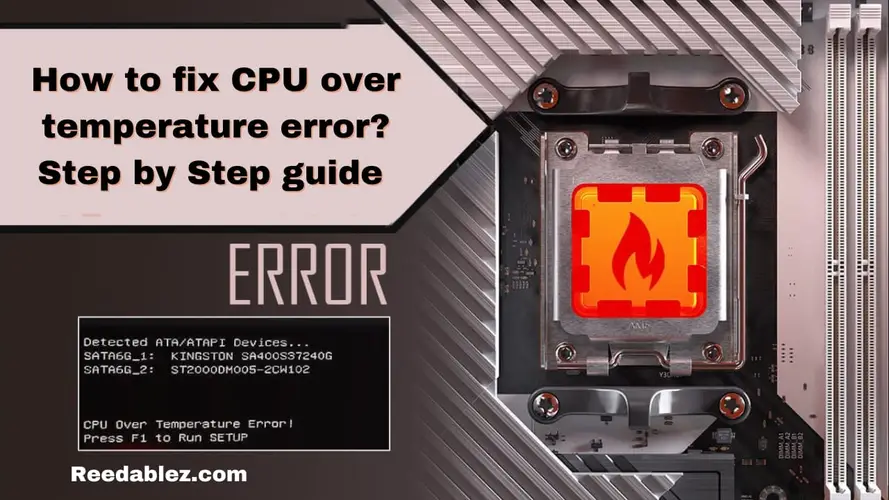
A CPU (Central Processing Unit) is the brain of your computer, responsible for executing instructions and carrying out complex calculations. However, it generates heat as it works, and maintaining the right temperature is crucial for optimal performance and the longevity of your CPU. If you've encountered a CPU over-temperature error, it signals that your CPU is running too hot.
To resolve a CPU over-temperature error, follow these essential steps. First, power down your computer and unplug it for safety. Next, open the computer case and inspect the CPU cooler for proper seating, mounting hardware, and thermal paste.
This comprehensive guide will walk you through the steps to diagnose and fix this issue, ensuring your CPU operates within safe temperature ranges.
Before we dive into fixing CPU temperature issues, it's essential to understand what constitutes average CPU temperatures. The ideal temperature for your CPU can vary based on the model and the workload it's handling. Here are some general temperature guidelines:
When your computer is at rest or performing light tasks, your CPU temperature should typically range from 30°C to 50°C. For laptops and small form-factor PCs, idle temperatures may be slightly higher.
During moderate use, such as web browsing and office tasks, your CPU temperature should remain at 40°C to 60°C. For gaming laptops and gaming desktops, this may rise to around 70°C.
Under heavy loads like gaming or video rendering, it's normal for CPU temperatures to peak in the range of 70°C to 85°C. Some high-end processors can handle even higher temperatures.
Most CPUs have a critical temperature threshold around 100°C. Beyond this point, the CPU may throttle performance or shut down to prevent damage.
These are general guidelines, and actual temperatures may vary based on your CPU, cooler, and case ventilation. Monitoring your CPU temperature using software tools to ensure it stays within safe ranges is essential.

Ensure that your CPU cooler is correctly installed and seated. Loose or improperly mounted coolers can lead to poor heat dissipation.
Check if the heatsink is clean and dust-free if you're using an air cooler. Accumulated dust can hinder cooling performance.
Inspect the thermal paste between the CPU and the cooler. If it's dried out or improperly applied, it can impede heat transfer. Cleann off the old thermal paste and reapply a fresh layer if necessary.
Proper case ventilation is vital. Make sure your computer case has adequate airflow with intake and exhaust fans. An efficient airflow pattern can significantly impact cooling.
Access your motherboard's BIOS/UEFI settings and check for CPU temperature and fan speed monitoring options. Ensure they are enabled to receive real-time information.
Some motherboards offer fan control settings, which allow you to adjust fan speed based on CPU temperature. Configure these settings for better thermal management.
Visit your motherboard manufacturer's website to check for BIOS/UEFI updates. Sometimes, these updates can enhance CPU temperature management and stability.
Utilize software tools like Core Temp, HWMonitor, or SpeedFan to monitor your CPU temperature in real-time. Keep an eye on temperature trends to identify any anomalies.
Regularly clean your PC to remove dust and debris obstructing airflow and cooling. Pay attention to the CPU cooler, graphics card, and case fans.
If your CPU cooler has adjustable fan speeds, consider configuring a more aggressive fan curve that increases fan speed as CPU temperature rises.
If your CPU cooler is inadequate for your CPU or workload, consider upgrading to a more robust cooler for better heat dissipation.
After making adjustments, stress-test your CPU using software like Prime95 or AIDA64 to ensure it remains within safe temperature limits under heavy loads.
Undervolting your CPU can reduce power consumption and heat output. However, this should be done cautiously, as it can affect stability.
Ensure that background processes or applications aren't unnecessarily taxing your CPU. Close any unnecessary applications running in the background.
If you've exhausted all options and the CPU continues overheating, it may be time to seek professional assistance. There could be underlying CPU or motherboard issues requiring expert diagnosis.
Remember that proper CPU temperature management is essential for your computer's performance and longevity. Regular monitoring and maintenance, along with the steps outlined in this guide, can help ensure your CPU stays within safe temperature limits, preventing CPU over-temperature errors and potential damage.
Checking if your CPU cooler is seated correctly is critical in ensuring efficient cooling and preventing overheating issues. A poorly installed CPU cooler can lead to inadequate heat dissipation, higher CPU temperatures, and even system instability.
An adequately seated CPU cooler is essential for several reasons:

Before checking the CPU cooler, power down your computer and unplug it from the electrical outlet. This is crucial for safety and to avoid any electrical mishaps.
Remove the side panel of your computer case to access the interior components. This panel is typically secured with screws or latches.
Inspect the CPU cooler to see if it is securely attached to the CPU. Here's what to look for:
Examine the mounting hardware used to secure the CPU cooler. Ensure that all screws or clips are correctly tightened and engaged. Pay special attention to the backplate and retention brackets, which are integral to the cooler's stability.
You can gently press or wiggle the CPU cooler to check for movement. Be cautious and use very light pressure to avoid causing any damage. An adequately seated cooler should not move or shift.
An improperly seated cooler can sometimes produce abnormal noises due to vibrations or loose components. Listen for any unusual sounds while gently tapping or wiggling the cooler.
If you suspect the thermal paste may be the issue, you can consider reapplying it. To do this, remove the cooler, clean off the old paste, and apply a fresh, thin layer evenly across the CPU's surface before reseating the cooler. It would help if you also read when GPU fans turn on.
If you find any issues during the visual inspection or suspect improper seating, it's advisable to reseat the CPU cooler. Here are the steps to follow:
Correctly setting your CPU cooler is fundamental to maintaining safe CPU temperatures and overall system stability. By following these steps, you can ensure that your CPU cooler is securely attached, facilitating efficient heat dissipation and preventing overheating-related problems. Regular inspection and maintenance of your CPU cooler will contribute to the longevity and reliability of your computer.
In CPU temperature management, understanding and addressing CPU over-temperature errors is paramount. This step-by-step guide has illuminated the path to diagnosing and resolving such issues, ensuring your CPU operates within safe temperature ranges for optimal performance and durability. You can mitigate the risks associated with high temperatures by comprehending what constitutes average CPU temperatures, recognizing the signs of overheating, and taking proactive measures. This comprehensive guide has equipped you with the knowledge and tools to maintain an excellent and efficient CPU, allowing you to enjoy a stable and reliable computing experience.
The average temperature range for a CPU can vary depending on the CPU model and workload. However, generally, idle temperatures can range from 30°C to 50°C, while under load, temperatures may reach 70°C to 85°C for most CPUs.
A CPU over-temperature error is a warning or error message generated by the motherboard's BIOS or UEFI when the CPU temperature exceeds safe operating limits. It indicates that the CPU is running too hot and needs attention.
To check if your CPU cooler is seated correctly, ensure it is securely fastened to the CPU socket. There should be good contact between the CPU and the cooler. Verify that all screws or mounting mechanisms are tightened appropriately.
Undervolting, when done carefully, can be a safe method to reduce CPU temperatures. It reduces power consumption and heat output. However, it should be approached cautiously to avoid stability issues.
Regular PC cleaning is recommended to prevent CPU overheating. The frequency depends on factors like your environment, but a general guideline is to clean your PC every 3-6 months or more often if you notice dust accumulation.
Software monitoring tools can help you monitor CPU temperatures in real-time, providing insights into temperature anomalies. While they don't prevent errors independently, they enable proactive temperature management.
Comments
Write a comment